Painting the house, for many homeowners, is an incredible experience. It is fun and can even be a time to bond with the other family members. Aside from having a blast, it is a crucial part of your home renovation project.
Choosing the right paint colour can make a huge difference. After all, this colour will stay (unless you decide to change it) as the backdrop for your interiors. Although it is always possible to redo this task anytime, it’s best to skip do-overs and just go with the right colour the first time.
The best way to achieve this goal is to do a little research and discover all the options you have. From here, you can pick the correct choice before you put on those overalls.
This post will help you learn about everything there is to know about painting for home renovation projects. From which paint to use for various parts of the house to tips on how to paint more efficiently, you’ll have all the answers here.
When to Paint
 First things first, when should you paint during a renovation or remodel?
In many smaller projects, it is quite easy to determine the answer. You will only need to update a few things, so you can easily check off painting on the list.
However, the story is not the same if you are tackling a bigger and more involved reno project. Experts will tell you that timing is essential – and this is true for painting as well.
If you paint too early, you risk damaging the freshly painted walls. There are also other things in the area that require your attention, so you put them at considerable risk as well.
Renovations usually meant that you have to paint the other surfaces and not just the walls. Some projects require even more complex tasks, such as interior trim painting, re-staining doors, ceiling painting, and the like. Therefore, the timing will significantly depend on the complexity of the project.
Painting though is often one of the last things to do, including for larger projects. It would be based on the amount of work the entire space needs, which will help determine when to paint.
To make it clearer for you, here are some guidelines on when you should paint considering where you are in your renovation:
- After all interior work is completed, including plumbing and electrical
- After removing old floors, carpeting, and others
- After the removal of the drywall and sparkling
- After installing major finishes, new windows, and a new trim
- Before installing large pieces in the room
- Before installing most other flooring items, including carpets
Essentially, the floors are the last items completed, so it is best to paint before they are installed. This way, you avoid the heavy wear and tear, which means tools and dust in the area.
Tips to Getting Great Home Painting Results
When you are ready to paint the area, you cannot just grab the brush and paint colour you want. There are a few guidelines to follow before you begin painting.
You can achieve the best results by following these tips:
1. Use a Primer, Sealer, and Undercoat
Painting is not just about the colours. You should first prep the site before you begin using a primer, sealer, and undercoat.
What are these products?
- A primer is the first coat you apply to the bare substrate, which has numerous benefits, including improved paint adhesion.
- A sealer is a substitute to a primer, but can also be used before a primmer. Its functions include sealing off the porosity of the surface and increases adhesion as well. The difference between a sealer and a primer is that sealers can help recondition a surface, which is not fit for painting.
- An undercoat is applied after primers and sealers to strengthen their functions.
You can now find all-in-one products that combine all the benefits of primers, sealers, and undercoats. This way, you do not have to go through this step up to three times.
You need to apply the priming coat on all surfaces where you will paint, including the ceilings, doors, trim, and interior and exterior walls. More important are those areas with mould, such as bathrooms and kitchens.
2. Pick a Good Paint Product
A high-quality paint product makes a lot of difference for any renovation project. Never pick paints just because they are less expensive. Paints are among the products where you get what you paid for. Opt for low to zero-emission paints with no formaldehyde content.
Here are some tips on how you can pick the right paint for specific areas in the house:
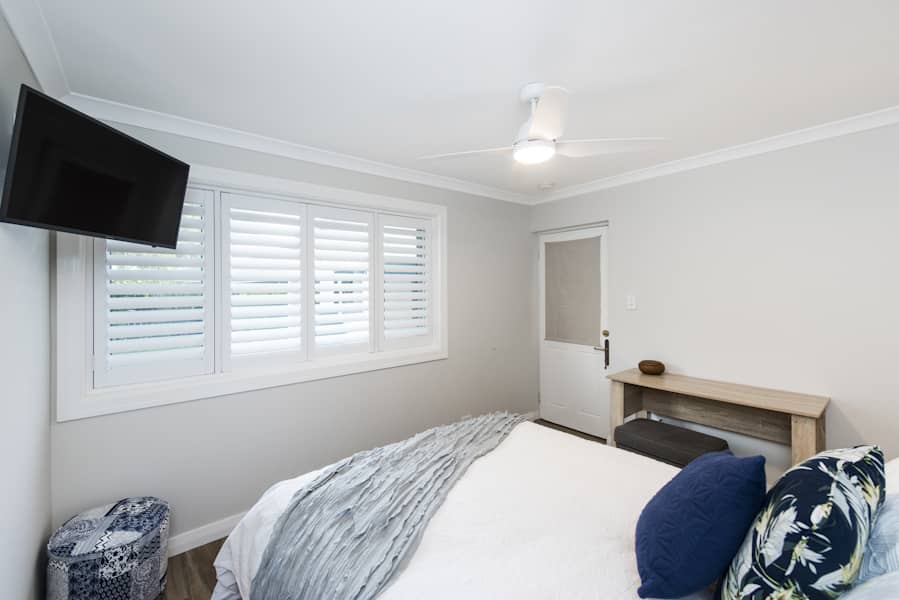
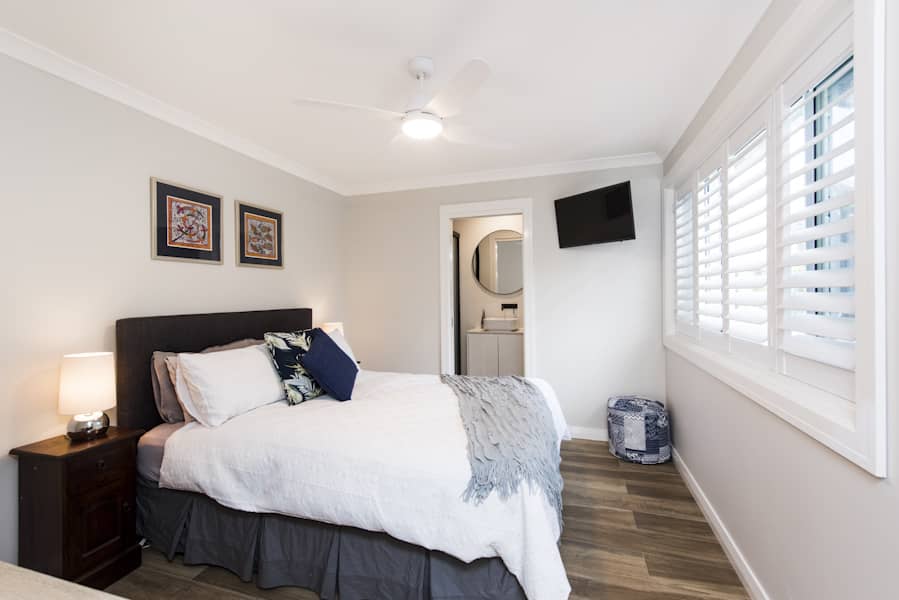
- Interior Walls and Brick: You can choose a low-sheen type of paint. Make sure it is washable, does not stain, and with high durability. If the walls and bricks have flaws, you may need two coats of paint to cover them.
- Interior Woodwork: Enamels are a wonderful option for painting woodwork inside the house. You can use either water or oil-based enamels, which are designed for window frames and doors. You can apply the product on architraves, skirting boards, and other joinery components. Oil-based paints offer a smooth finish that looks beautiful. However, they can go yellow over time. Meanwhile, water-based ones do not yellow with a glossy finish, although oil-based enamels have a higher sheen.
- Ceiling: Make sure to protect ceilings against mould with high-quality paint. Protection should last about five years.
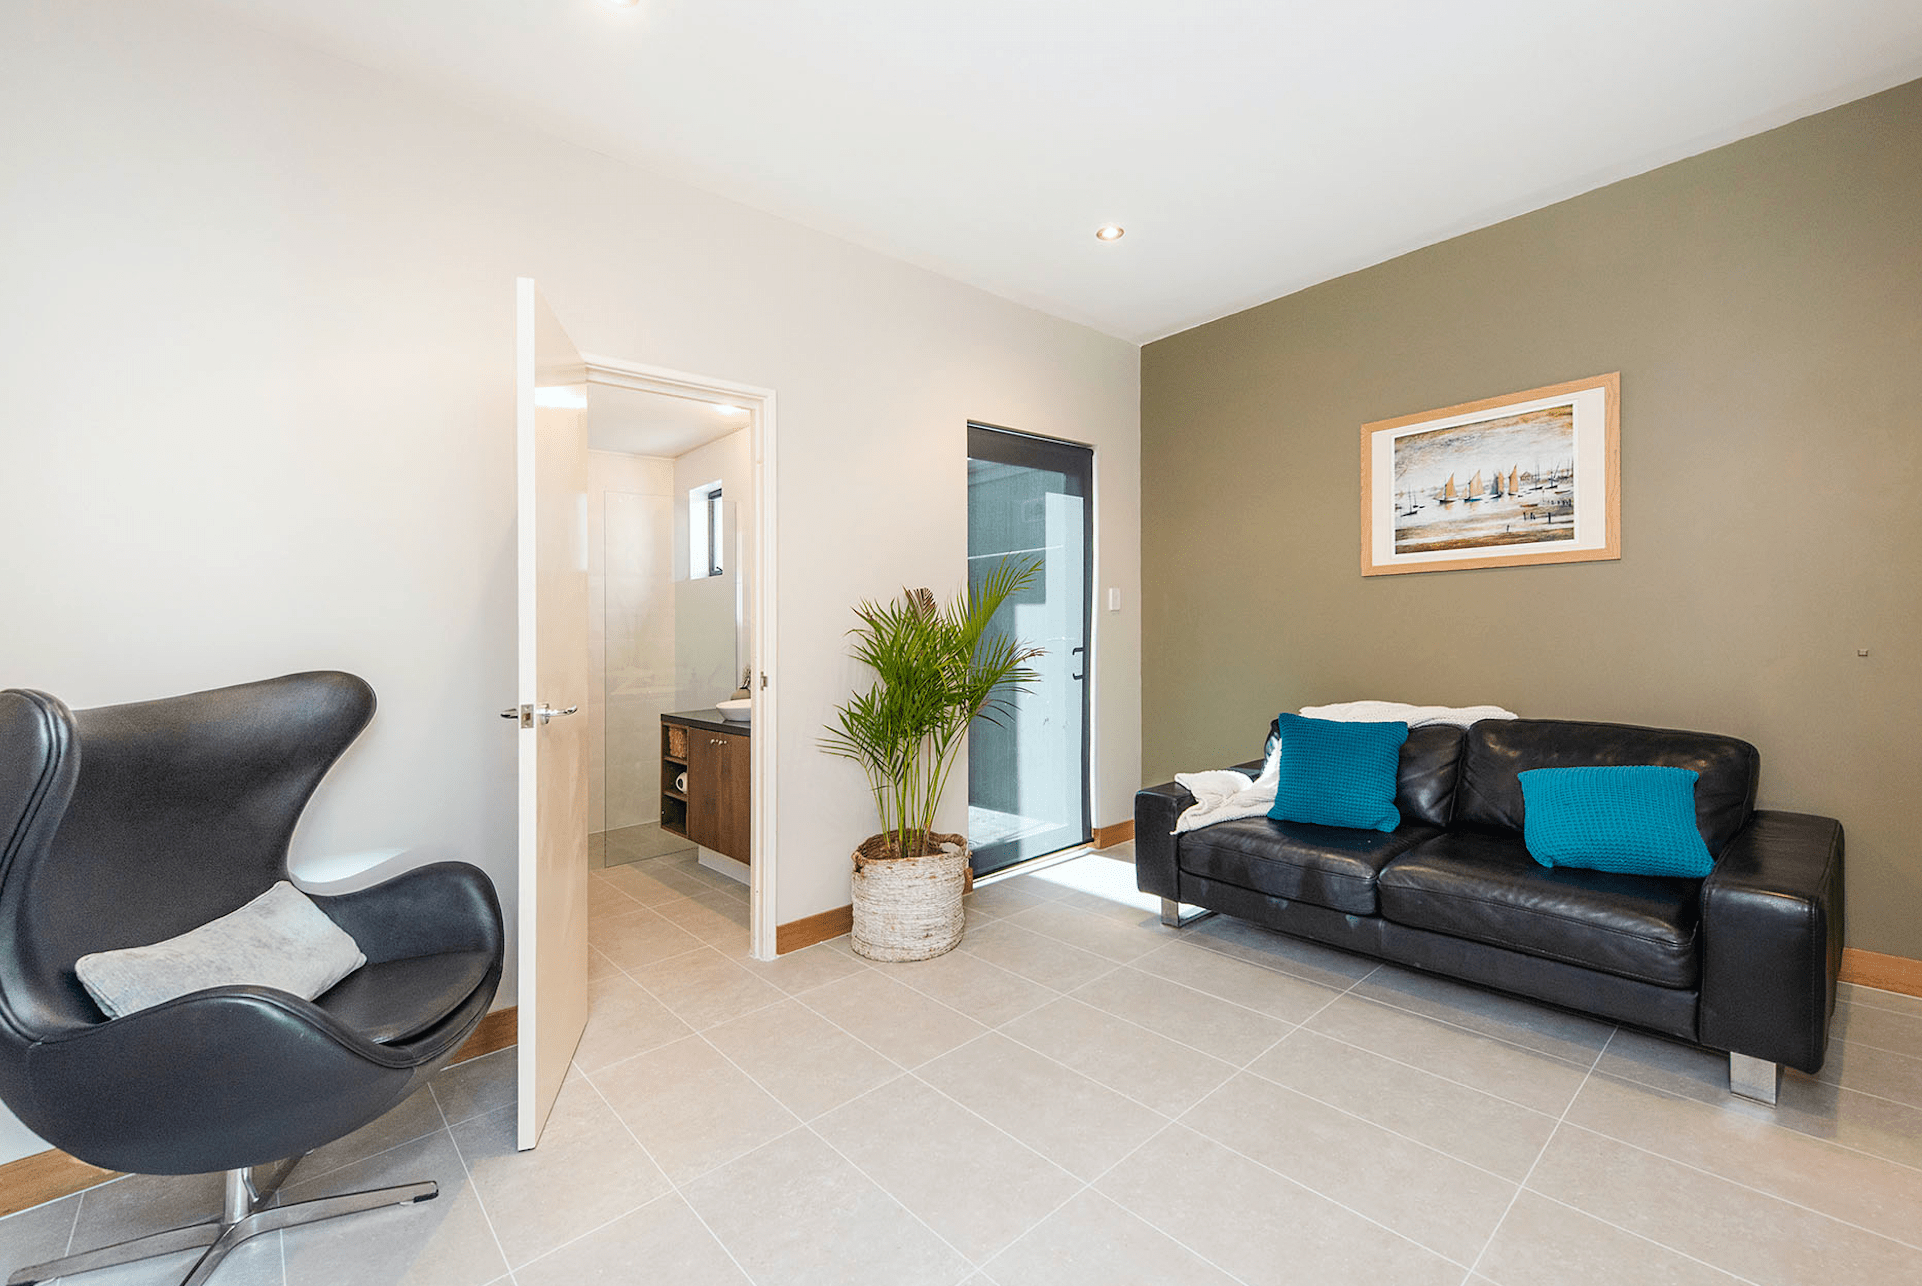
- Exterior Walls and Brick: Since the outside walls face harsh sun, rain, and snow, the paint you choose should resist all conditions. It should not peel and flake with resistance against dirt and stain. Also, pick a colour that matches the existing scheme of your home. You do not want the exterior paint to stand out yet look out of place.
- Exterior Trims: Choose a non-yellowing formula. Semi-gloss water-based enamel is a good choice. Ensure it resists chipping and does not fade quickly. You can use the paint on doors, architraves, window, walls, and skirting boards. New and previously painted timber, galvanised steel, non-ferrous metals, and even exposed aggregate concrete are surfaces where water-based enamel paints can be applied.
If you plan to paint the walls, doors, and other surfaces white, make sure you stick with one shade. It helps attain cohesiveness and keeps your job simpler as well.
3. Decide When to Paint
You should not paint on a moist surface, such as one that was just directly rained on. Make sure it is dry before applying paint; otherwise, the paint will dry slower, especially when the relative humidity is 50%.
Temperature also affects the process of curing. If the area receives direct sunlight, it can cause unattractive ripples and waves. Meanwhile, if the temperature is below 3 degrees Celsius, the paint will not dry. For exterior painting, the best time to paint is in the late mornings after the morning dew has already evaporated. You can also choose to paint mid-afternoon, so you do not have to worry about the temperature dropping.
4. Choose the Right Colours
White is a good colour for many parts of the house. However, you may also be interested in going for other hues. Experimenting can take a while but is often worth the effort. Not everyone has a lot of extra time in their hands, though.
For example, you want to use neon pink. It’s intense and eye-catching. This colour is definitely for the more adventurous. Imagine having neon pink walls in your home, which will surely make quite the first impression. You can use this colour in a foyer, which invokes a warm welcome, making it an unforgettable entrance. This colour is also great to brighten up a lacklustre hallway.
If you cannot seem to match colourful artwork and unique seating into other rooms, the paint job can make integration easier. A putty-coloured grey with just a touch of lavender and pink will undoubtedly spark some interest.
Another way to embolden a dull space, especially a transitional one, such as the hallway, is through a high-gloss green coloured wall.
There are different paint colours out there other than white. You are free to try them but make sure it works with the already existing setting.
5. Have the Budget and Know How Much Paint You Need
The main expense you have to worry about is the paint itself. Then, add the total cost of the other materials and tools, which include:
- Primer
- Wood putty or filler
- Paint roller set with the covers, roller, and extension
- Paint sprayer
- Paintbrushes
- Tape measure
- Drop cloths
- Masking tape
- Ladder and extension ladder
- Caulking gun
If you have already estimated the amount of paint required for the interior space, this calculation does not apply to other areas in the house. You will need varying amounts per wall, depending on its texture and size. It is also different for windows, trim, and doors.
You will need these pieces of information to know how much paint you need:
- The surface area (ignore the spots where there are doors and windows)
- The paint’s spreading rate
- The number of coats required
Here are some examples:
- You will paint walls that are 3m x 4m (L x W). The doors and windows are about 0.5 metres from each wall, giving you 3.5 metres of paintable surface for each partition. Therefore, the surface area is 42 square metres where the formula is: (four walls x 3.5 metres) x 3 metres in height.
- These walls still have paint on them and are in good condition. You plan to use a low-sheen product with a spreading rate of 12 square metres per litre, according to its datasheet. Because of the state of the walls, you will only need two coats of this low-sheen paint.
- For this case, you will need about seven litres of paint based on this equation: (42 square metres surface area/12 square metres per litre)*2 coats of paint = 7 litres.
The example above tells us that you need seven litres so you can paint two coats onto the walls in that specific area. The best thing to do about it is to have about eight litres of paint, so you can complete the job and even have extra for touch-ups.
6. Try These Paint Hacks for Amazing Reno Transformations
If you plan to do the paint job on your own, here are some interesting DIY hacks that can give you fantastic results:
- Paint your pots. When you have terracotta pots or just about any containers you have lying around, you can give them a new look. Make sure they are free of any debris first and let them dry before painting. Use a weather-resistant paint product and apply the first coat. Allow it to dry and brush the second coat.
- Spray-paint your bricks. Once again, ensure the surface is clean using a broom or a pressure washer. It should be cleaned before applying any paint. Cover the areas that you do not want to paint, such as windows or doors. Then, use a good quality paint designed for outdoor use. Then you can start spraying with the gun, moving from left to right.
- Restyle your mirror. Everyone agrees that the golden arch mirrors look sophisticated. Unfortunately, they come at a steep price. You can turn your bathroom mirror into something classy by spray-painting it with a bright gold finish. Be sure to cover the walls and anything else that you do not want to hit with the paint.
- Paint over brown frames. If you still have brown aluminium window frames, you can simply transform them with the colour you want. It helps to use a primer before painting to make the colour last longer. Also, protect the glass by covering it thoroughly.
Wear appropriate protective gear, such as a mask, whenever you spray paint or apply with a brush or roller. DIY painting is delightful, but if you want to skip the activity, you can hire a professional.
The WA government recommends the hiring of registered painters under the Building Services Act 2011.