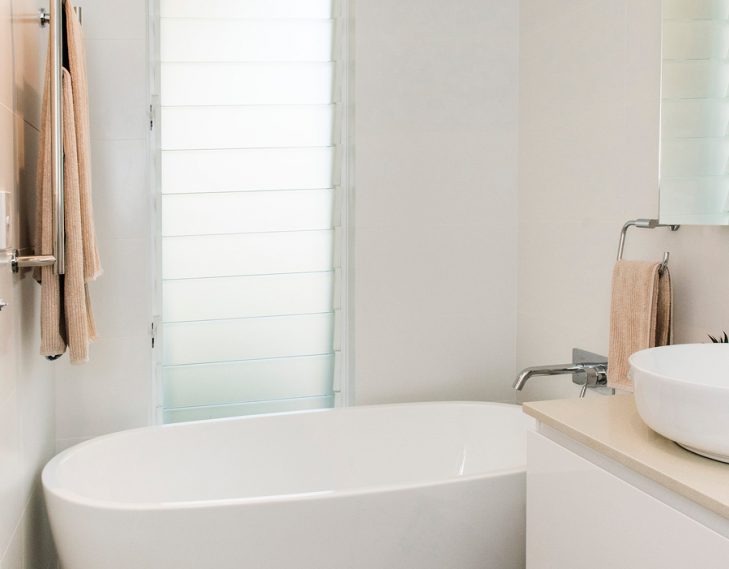
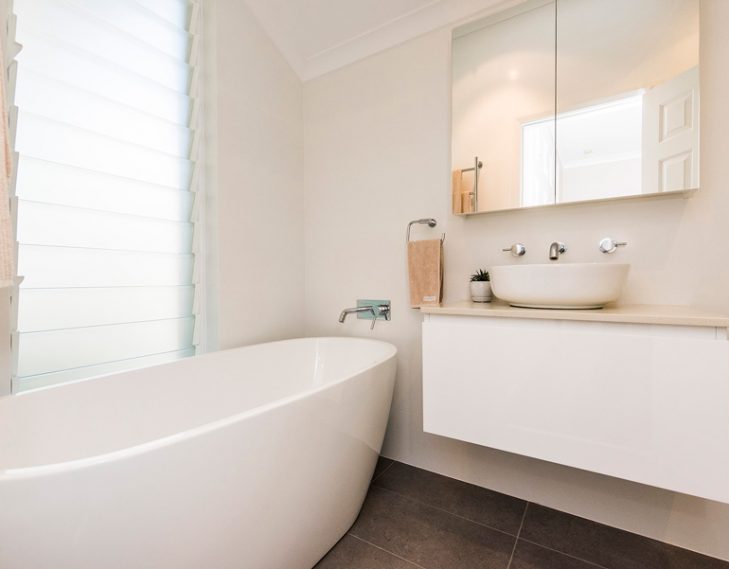
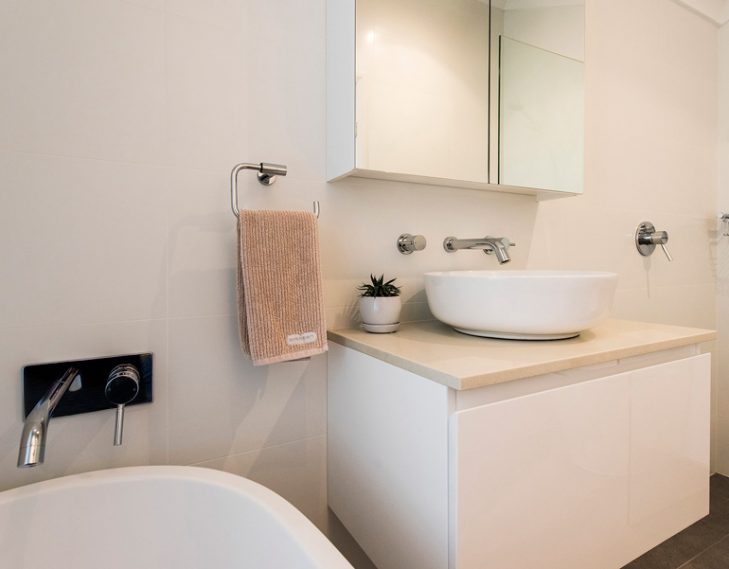
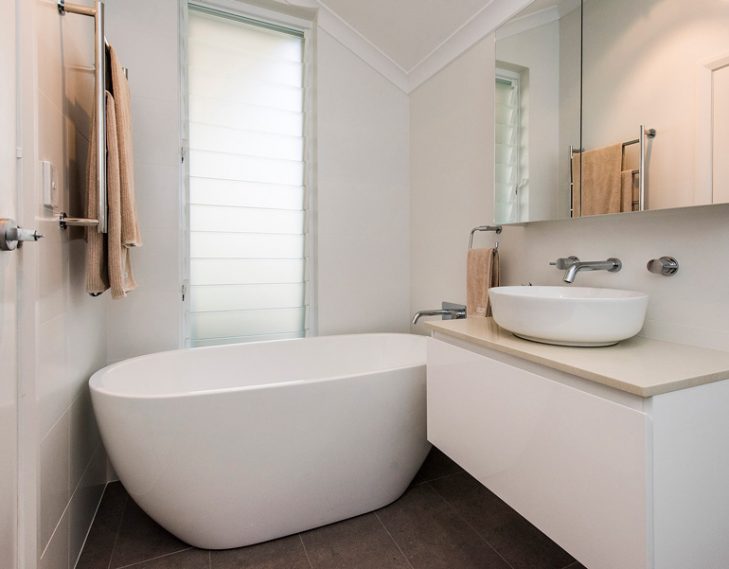
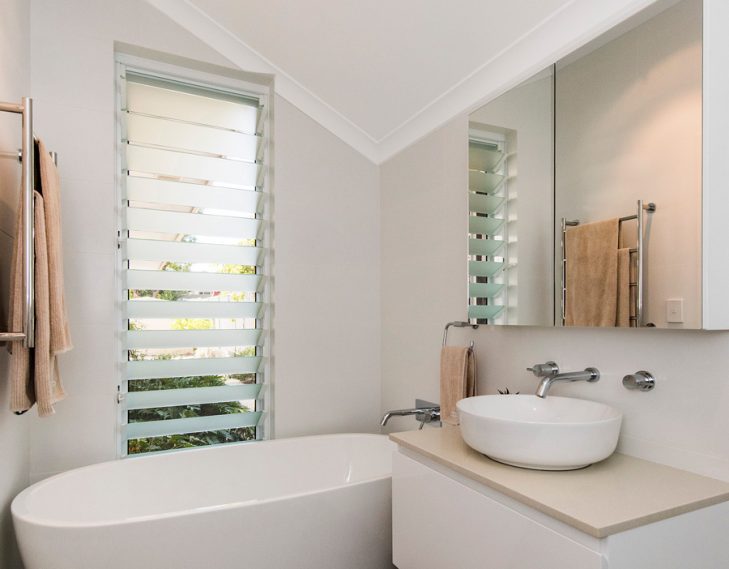
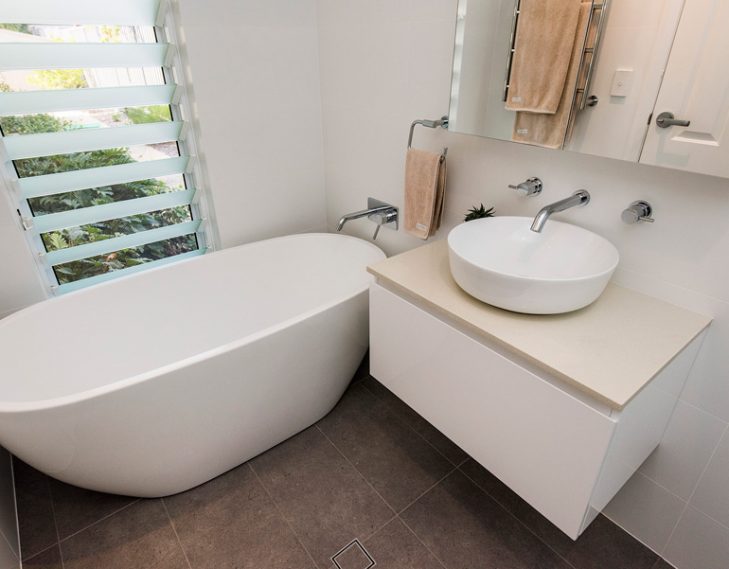
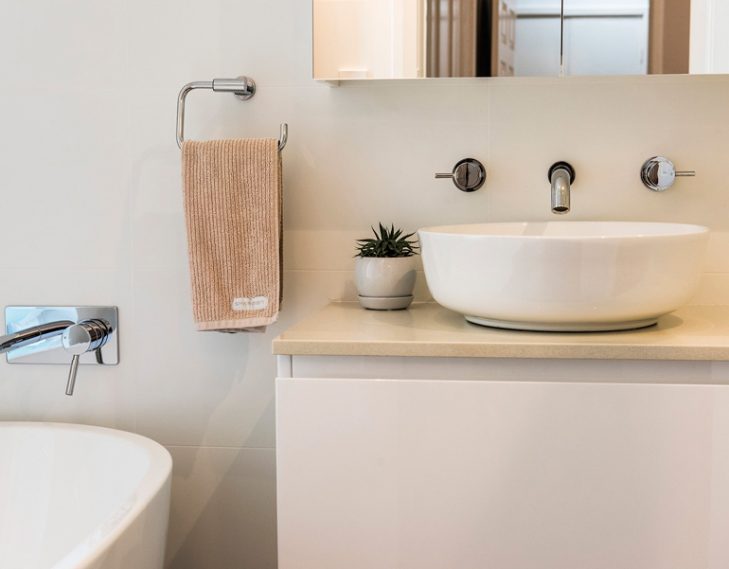
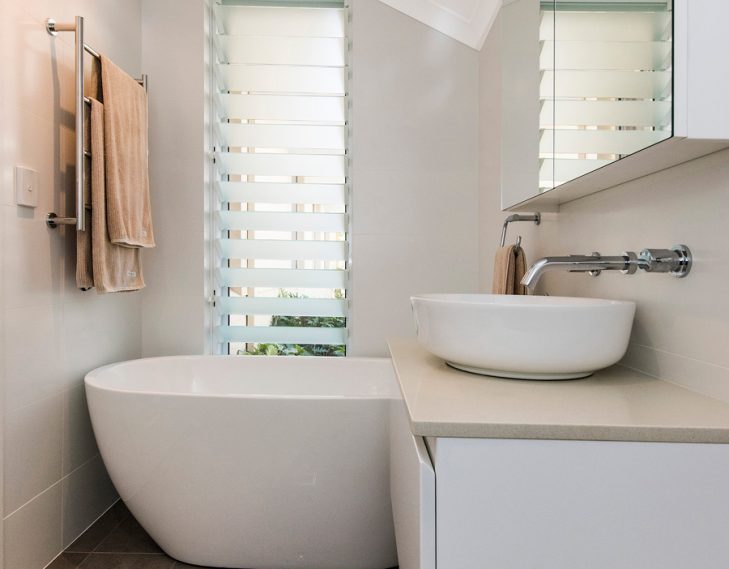
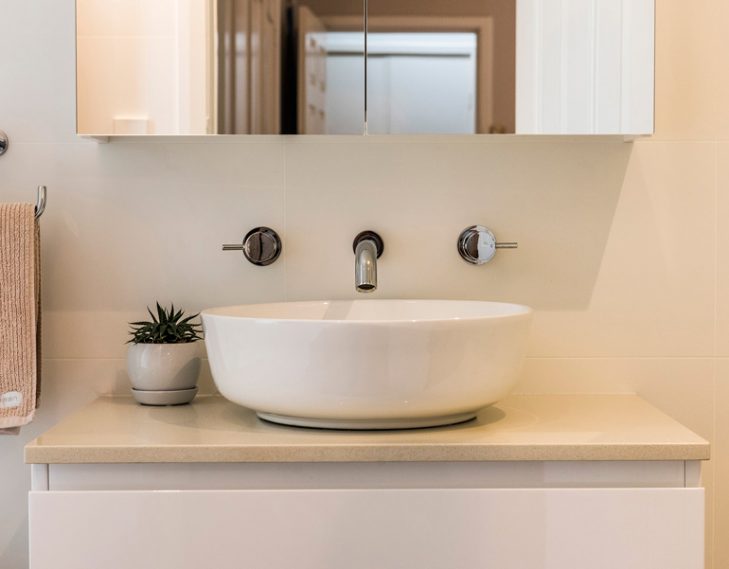
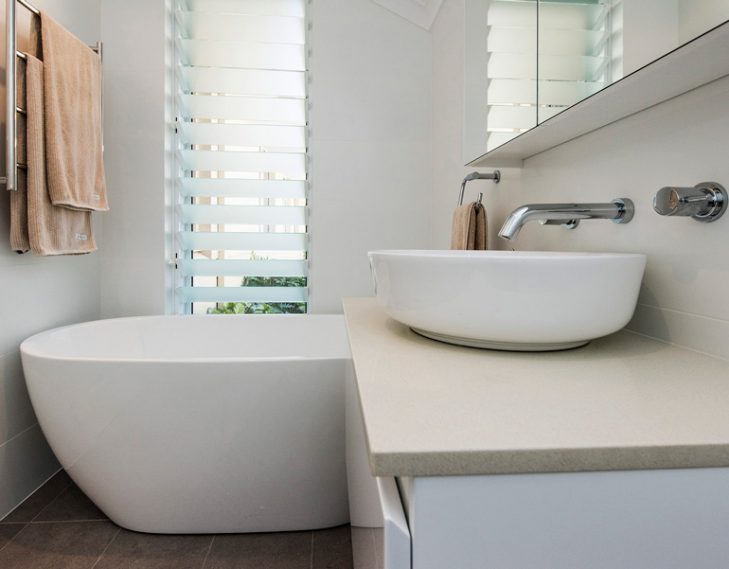
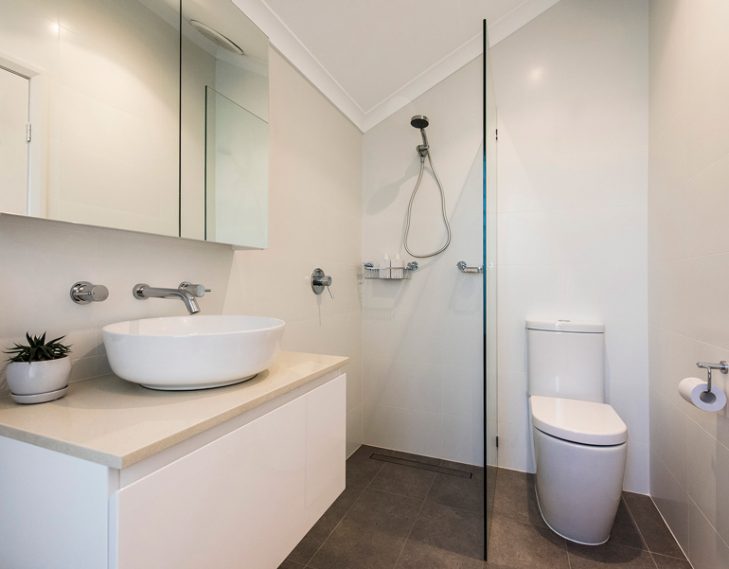
This project was a bathroom renovation started and completed in April 2017. The client contacted us because their bathrooms were rundown and in desperate need of repair.

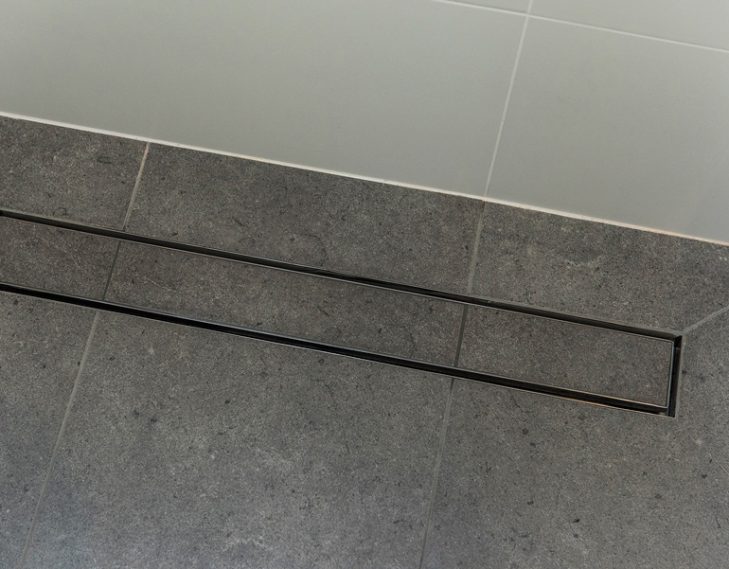
The walls in the shower were water damaged, so they weren’t actually using the shower any longer. We solved this issue and much more.

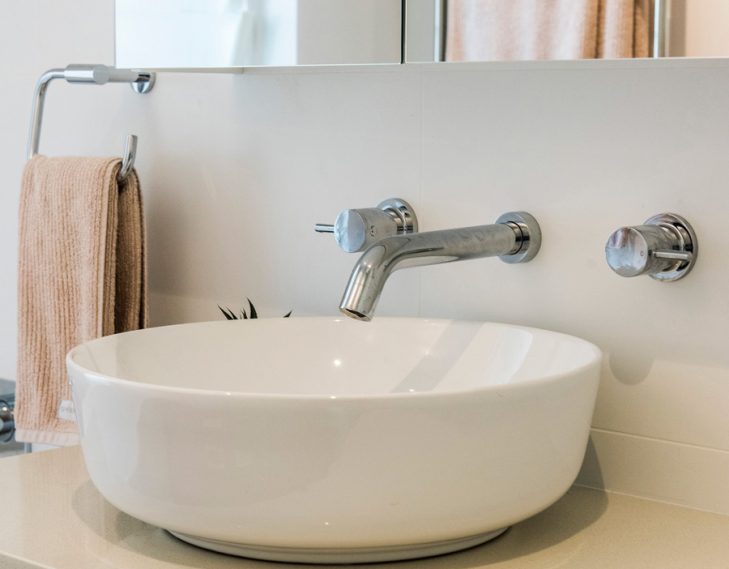
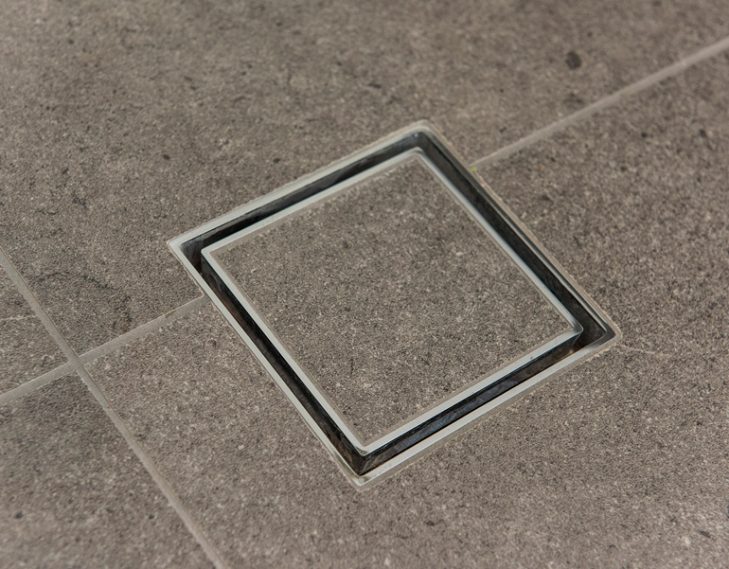
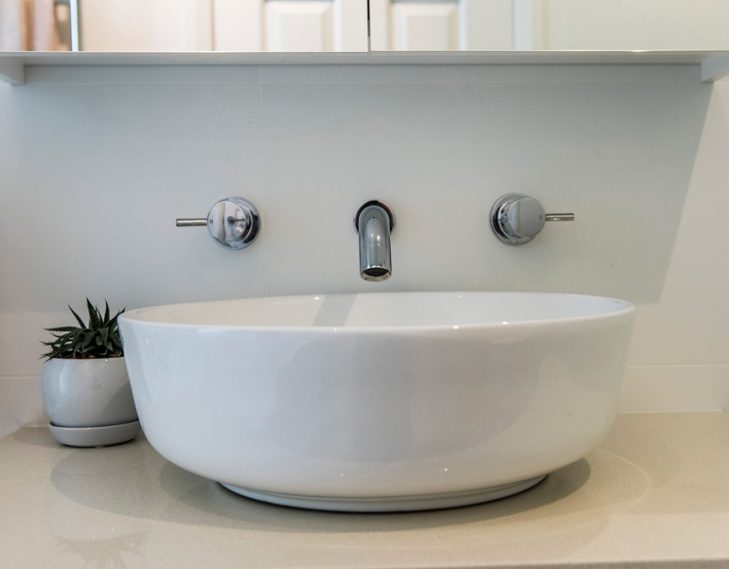
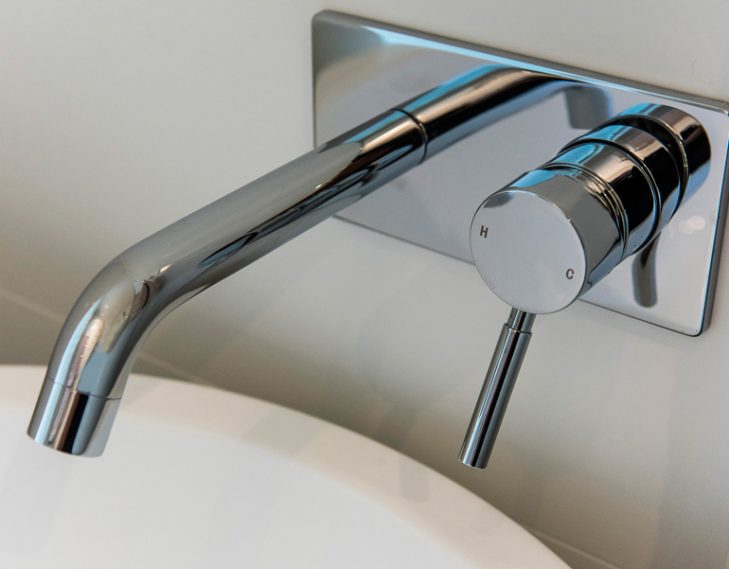
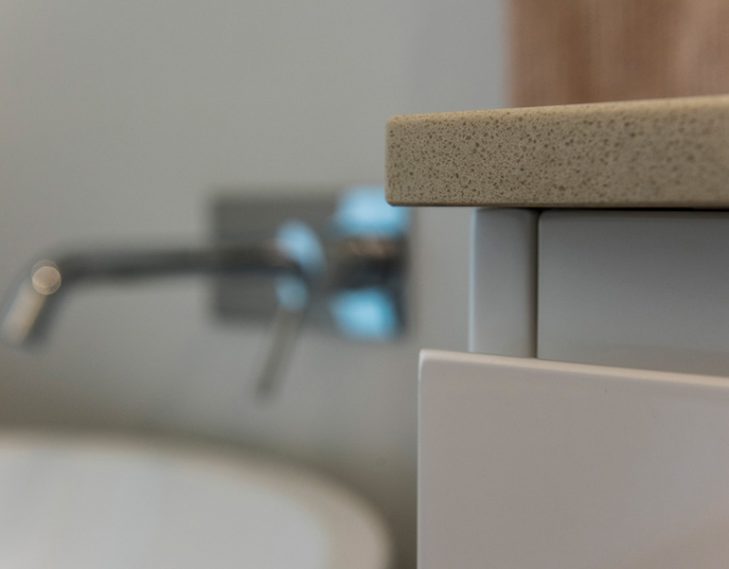
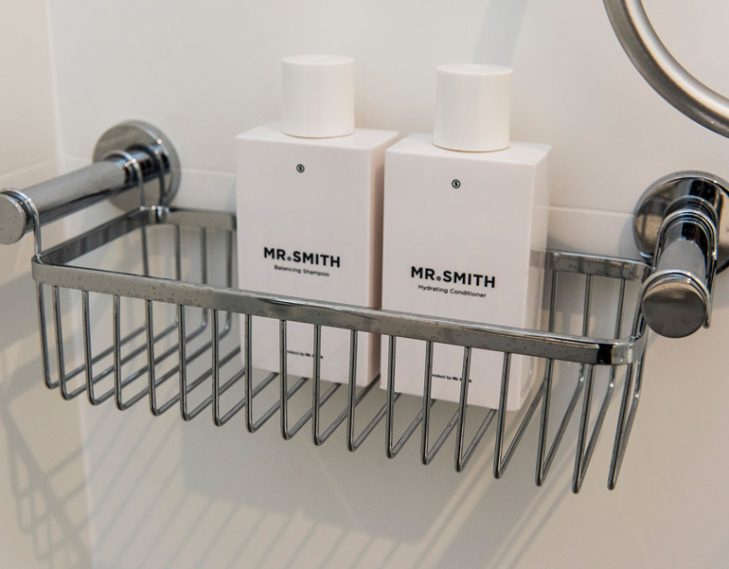
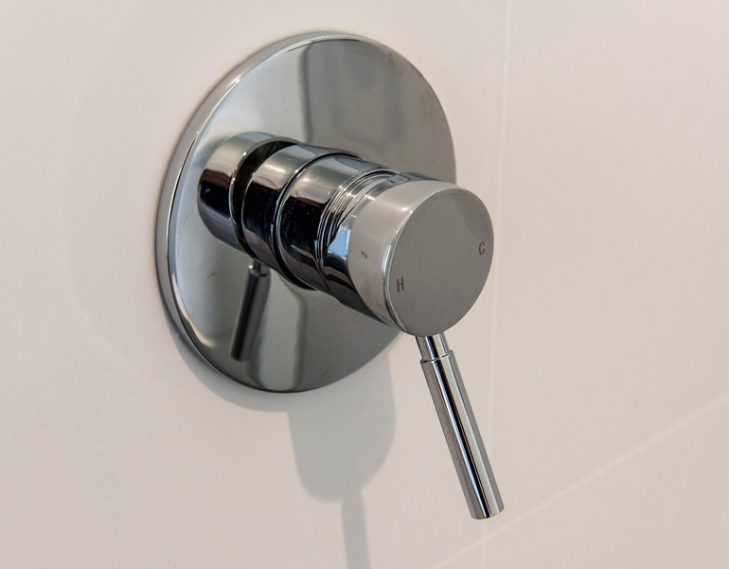
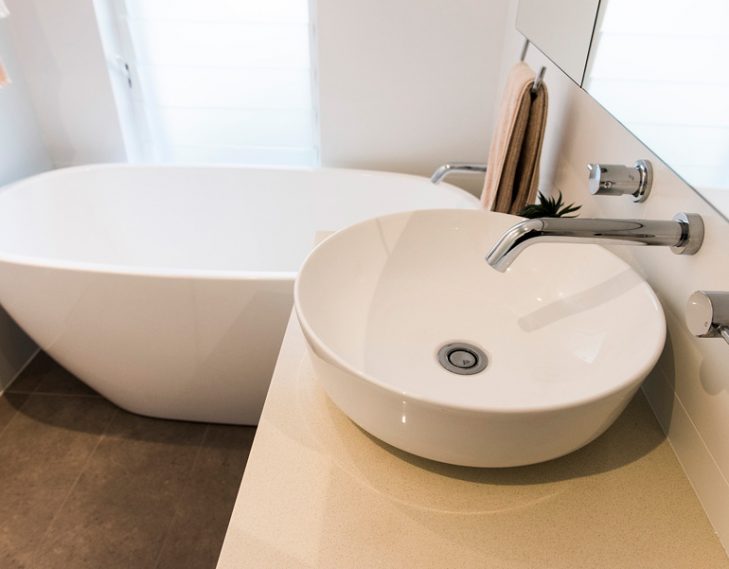
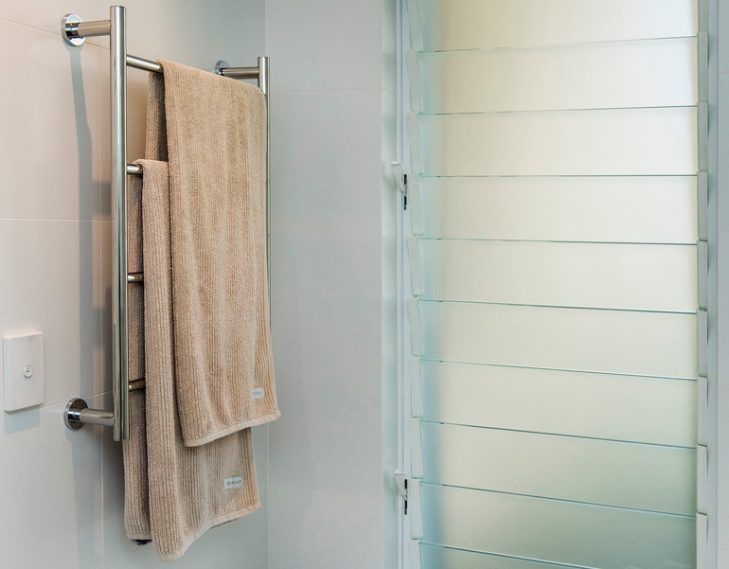
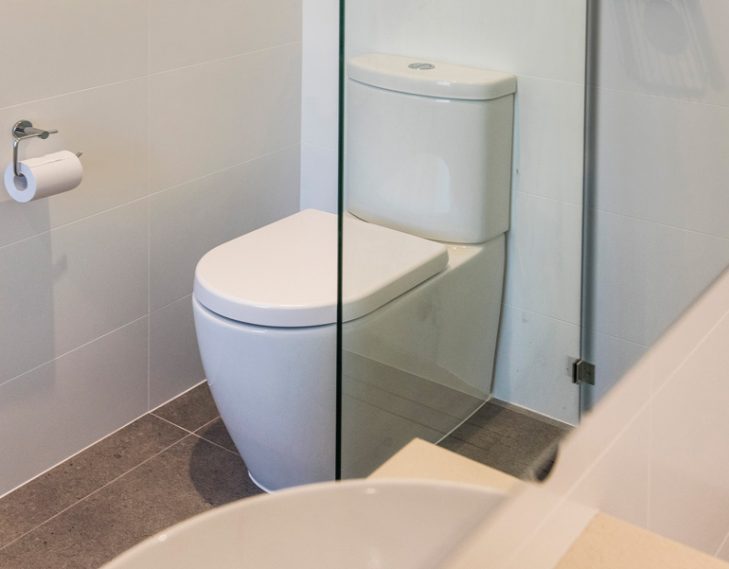
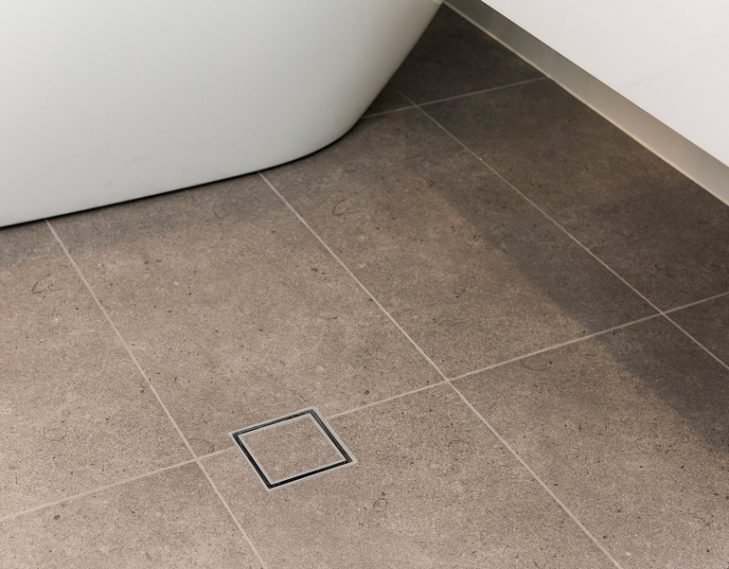
We put a new design in place with all new fixtures, flooring, and tiles. After receiving the green light, we went in and stripped the space, renovated it, and made it look and function beautifully.

Full batrhroom shot

WHAT FIXTURES DID WE USE?

Like most of our renovations, we used Reece for the bathroom products, including:

  • Mizu Drift wall bath mixer for the bath and basin
  • Mizu Drift mixer for the shower
  • Phoenix Gen X heated towel rail
  • Kado freestanding bath
  • Posh Solus MKII shower rails
  • Forma back-to-wall toilet seat

Meanwhile, for the tiling we used:

  • 300 x 600 rectified Cordoba dark grey floor tiles
  • 300 x 600 rectified matte white wall tiles

We like to use this colour combination for many of our projects, and our clients were thrilled with the outcome.

We also installed a Dominque MKII wall cabinet to finish the look.

To bring in more light and airflow, we also added a big Queenslander galley-style window.

After that, we painted the space to finish it off and complete the renovation. We basically redid the entire space not only to meet but exceed our clients’ needs.

Bath basin taps
Mirror sink cabinet

PROJECT TIMELINE

The project took about a month from start to finish. Here’s how it went:

  • Met with clients and put together a plan
  • The pre-ordered window from New Look Windows.
  • Spent a day performing demolition and stripping the space
  • Let the surface water damage dry out for a couple of days
  • Accessed the water damage and cut the slab to move the drains around
  • Spent two days roughing the pipes into the walls
  • The electrician ran all new switches and power points
  • Tilers scraped and re-tiled the floors and walls.
  • Installed the cabinet, stone, and glass shower screen
  • Finished installing the tapware
  • Repainted the space
  • Cleaned up and voila…the project was finished!

THE END RESULT

Thanks to our experience and excellent communication with the client, the entire process went smoothly and according to plan. In the end, she was thrilled with the result and pleasantly surprised in our ability to complete the project on time.

Since redoing the bathroom in her Alexander St home, she’s referred us to several other clients, and we have a great relationship to this day!

Tall bathroom shot

VIEW OTHER PROJECTS

High-End Home Renovation in Daglish

This beautiful Daglish home was built in the 1970s. Discover how we transformed the kitchen, laundry and bathroom.

Alfresco Renovation in North Perth

Michelle and Mark wanted a modern and rejuvenated Alfresco area that they could use year round.

FULL HOUSE RENOVATION IN MOUNT HAWTHORN

We embarked on an ambitious renovation project at Mount Hawthorn.

SEE WHAT OUR CUSTOMERS ARE SAYING

  • As an industry partner to Stew and the team; they are always such a pleasure to deal with. When dropping off onsite storage we certainly enjoy popping out heads in... read more

    Space Box Avatar Space Box
    April 18, 2022
  • As an industry partner to Stew and the team; they are always such a pleasure to deal with. When dropping off onsite storage we certainly enjoy popping out heads in... read more

    Spacebox Storage Avatar Spacebox Storage
    April 18, 2022

CALL US TODAY FOR BATHROOM RENOVATIONS

Google Rating
4.6
Based on 9 reviews